As the chapter title suggests, it's time to turn our toy into a game.
But before we switch to a new file, let's make one last change so we can continue testing in toy.js. We'll add a debug property to the scene and set it to true in toy.js.
constructor ({debug}) {
    // ... omitted for brevity
    this.debug = debug
}
const scene = new Scene({debug: true})
Now we'll only show hitboxes if the debug mode is turned on.
export function drawHitBox (ctx, scene, element) {
    const {hitBox} = element

    if (scene.debug && hitBox) {
        // ... omitted for brevity
    }
}
We're ready to switch to game.js now! Copy the contents of toy.js into game.js.
You may have noticed that game.js is pretty simple, and that's a good thing. It's best to keep your entry point as simple as possible. In our case, it's only used to set up how the game is launched and how the player interacts with it.
In index.html, change the entry point to game.js.
<script src="scripts/game.js" type="module"></script>
Game Over
We already know when the player collides with an obstacle. Let's make the game stop when that happens.
First, we'll add a new piece of information to the scene: whether the game is over or not. If it is, we'll stop updating the scene.
gameOver () {
    this.ended = true
}

update () {
    if (this.ended) {
        return
    }

    // ...
}
Now we'll call the function to end the game when the player collides with an obstacle.
checkCollisions () {
    // ...

    if (collided) {
        this.gameOver()
    }
}
Difficulty
Right now, the camera moves at the same speed throughout the game, which makes it too easy once you get the hang of it.
We'll gradually increase the speed over time to make the game more challenging.
We'll also add a speed limit to prevent the camera from going too fast.
constructor () {
    // ...

    this.camera = {
        x:        0,
        y:        0,
        width:    7,
        height:   4,
        speed:    3,
        maxSpeed: 10
    }
}

update (deltaTime) {
    // ...

    const {camera} = this

    camera.x      += camera.speed * deltaTime
    camera.speed  += 0.05 * deltaTime
    camera.speed   = Math.min(camera.speed, camera.maxSpeed)
}
Score
Adding a score is a good way to make the player want to play again.
We'll calculate the score based on the time elapsed and the speed of the camera.
get score () {
    return Math.floor(this.elapsedTime * this.camera.speed)
}
To display the score, we're going to use HTML since it's good at displaying text and placing it correctly. As long as the text isn't too stylized and is embedded in the game, it should work well.
In the index.html file, let's add a div element to display the score.
<div id="fallen_hero">
    <canvas class="game_canvas" width="700" height="400">
    </canvas>
    <div class="game_score">0</div>
</div>
And position it using CSS.
#fallen_hero .game_score {
    position: absolute;
    right: 1em;
    top: 0.5em;
    font: 3em monospace;
    font-weight: bold;
}
We can now update the display of the score on each frame. Except when the game is over to avoid using resources unnecessarily.
async function init () {
    const score = document.querySelector('#fallen_hero .game_score')
    // ...

    startAnimationLoop(function (deltaTime) {
        // ...

        if (!scene.ended) {
            score.innerHTML = scene.score
        }
    })
}
Replay screen
When the game is over, it's not very practical to have to refresh the page to start over.
There are several ways to start a new game. One way is to create a reset method on the scene that resets all the elements of the game. Another way is to create a new scene in the game.js file. In our case, creating a new scene is the easiest solution.
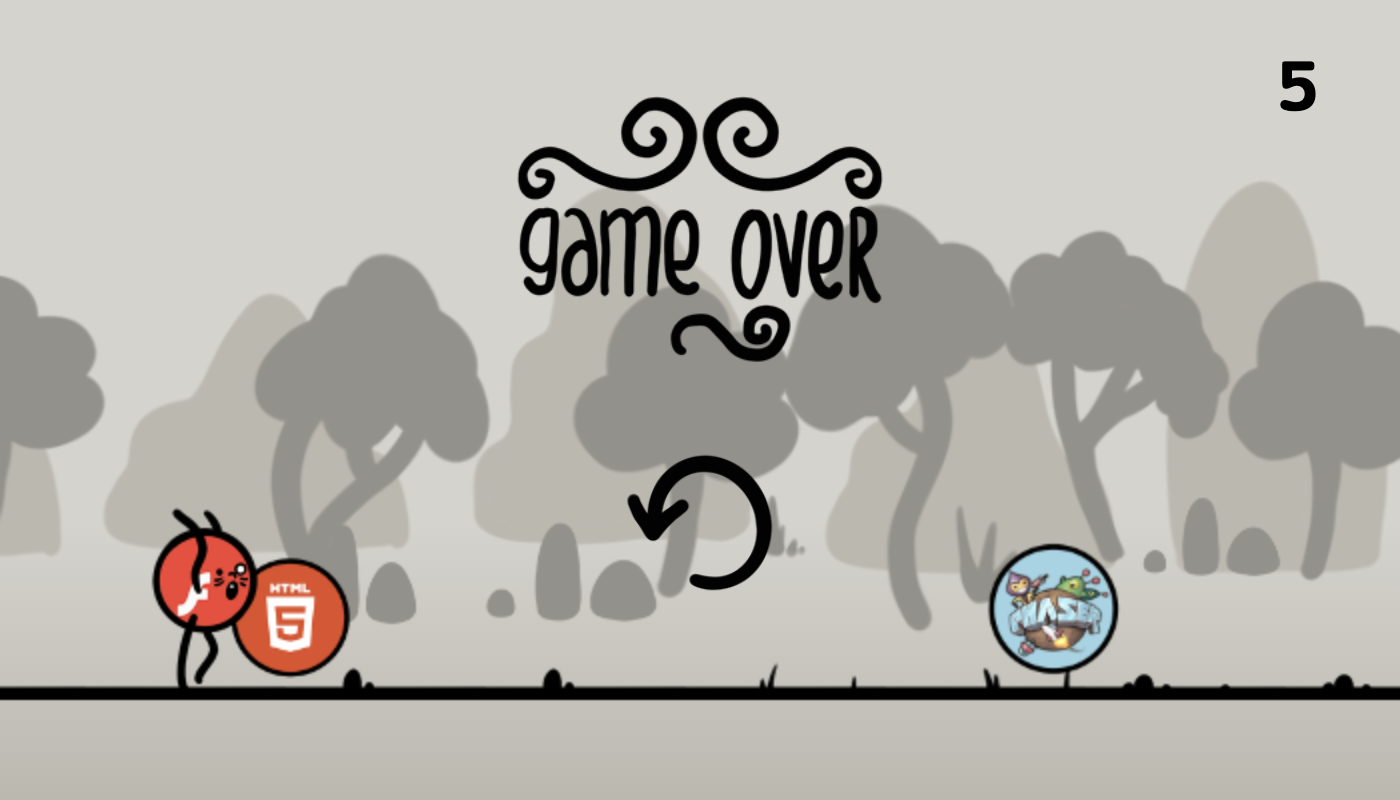
But first, let's create a game over screen in HTML and CSS with a button to start a new game.
<div id="fallen_hero">
    <canvas class="game_canvas" width="700" height="400"></canvas>
    <div class="game_score">0</div>
    <div class="game_over">
        <div class="game_over_visual">
            <img src="images/game_over.png" alt="Game Over">
        </div>
        <div class="game_over_replay">
            <img src="images/replay.png" class="game_replay_button" alt="Restart">
        </div>
    </div>
</div>
#fallen_hero .game_over {
    position: absolute;
    top: 0;
    left: 0;
    width: 100%;
    height: 100%;
}

#fallen_hero .game_over .game_over_visual {
    display: flex;
    justify-content: center;
    margin-top: 3em;
}

#fallen_hero .game_over .game_over_visual img {
    width: 200px;
}

#fallen_hero .game_over .game_over_replay {
    display: flex;
    justify-content: center;
    margin-top: 2em;
}

#fallen_hero .game_over .game_over_replay img {
    width: 80px;
    border-radius: 50%;
    padding: 0.5em;
    cursor: pointer;
}

#fallen_hero .game_over .game_over_replay img:hover {
    border-bottom: 0.25em solid black;
}
We now need to give our game.js file a way to know when the game is over. To do this, we're going to use a callback function.
This function will be responsible for displaying the game over screen and allowing the player to start a new game.
We'll refactor our game.js file so that we can easily create a new instance of the scene and pass in the callback function.
async function init () {
    const score    = document.querySelector('#fallen_hero .game_score')
    const canvas   = document.querySelector('#fallen_hero .game_canvas')
    const gameOver = document.querySelector('#fallen_hero .game_over')
    const replay   = document.querySelector('#fallen_hero .game_replay_button')
    const ctx      = canvas.getContext('2d')

    setScale(ctx, 100)

    const images = await loadImages(imagePaths)

    let scene = createScene()

    function createScene () {
        gameOver.style.display = 'none'

        return new Scene({
            debug: false,
            onGameOver: displayGameOver
        })
    }

    function restartScene () {
        scene = createScene()
    }

    function displayGameOver () {
        gameOver.style.display = 'block'
    }

    replay.addEventListener('click', restartScene)

    // ...
}
- The createScene function creates a new scene and hides the game over screen.
- We connect a onGameOver callback that simply displays the game over screen.
- Finally, we connect the restartScene function to the replay button.
constructor ({debug, onGameOver}) {
    // ...
    this.onGameOver = onGameOver
}

gameOver () {
    if (!this.ended) {
        this.ended = true
        this.onGameOver()
    }
}
Well done!
If you've been following along while trying to reproduce the game on your own, don't stop there. There are still lots of things to refine, add, and improve.
You can also freely use the code (tools are meant to be reused) and graphics assets for your own projects if you wish.